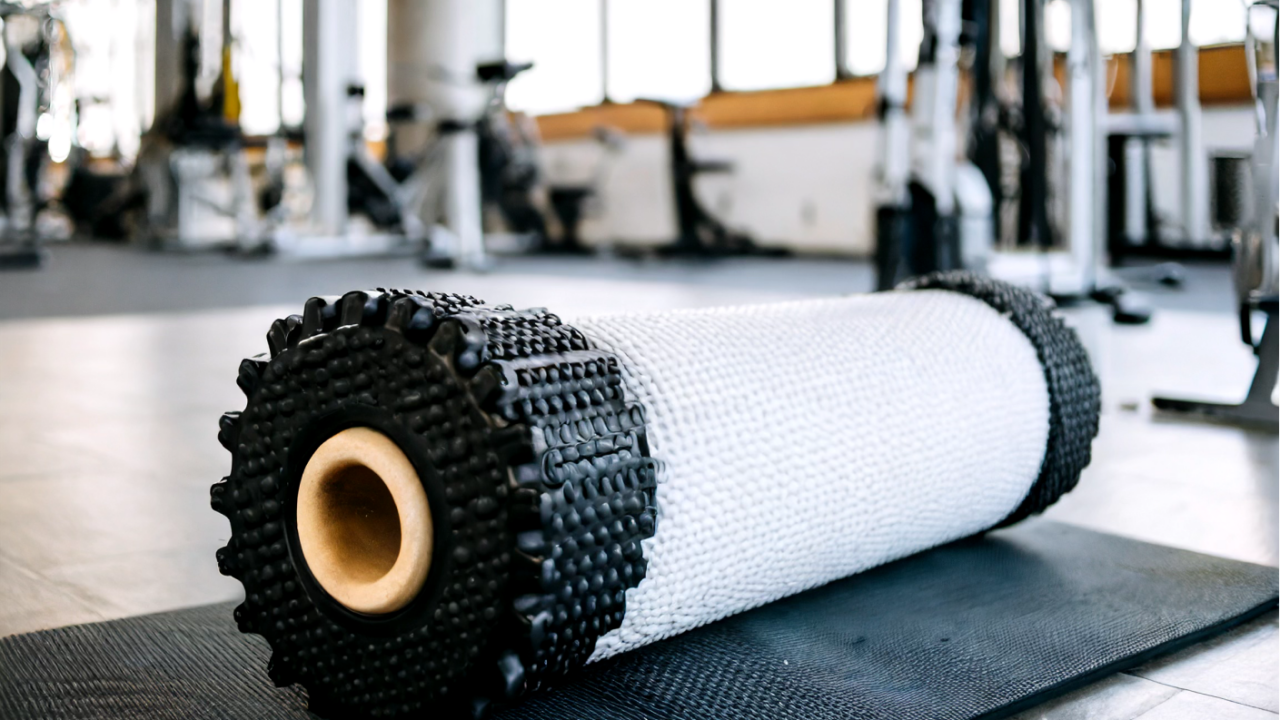
Imagine waking up to a world where back stiffness doesn’t dictate the start of your day, where bending over to tie your shoes isn’t accompanied by a chorus of groans, and where sitting through a workday doesn’t feel like a test of endurance. Welcome to the transformative power of foam rolling—a simple, yet incredibly effective tool in your wellness arsenal that promises to roll away the stiffness and usher in a new era of back comfort and flexibility. Let’s embark on a journey to unravel the art of foam rolling for back stiffness, turning this dream into your new reality.
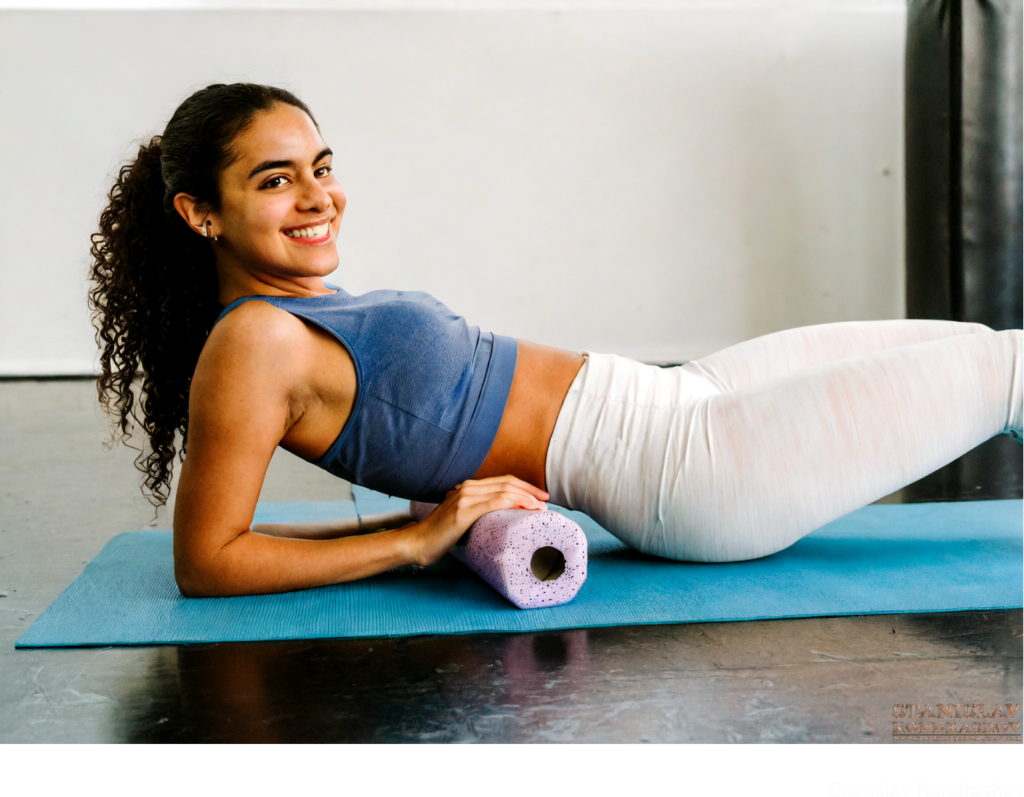
1. The Foam Roller: Your Back’s New Best Friend
At first glance, a foam roller might seem unassuming, but beneath its simple exterior lies a powerhouse of therapeutic benefits. By targeting the fascia—the connective tissue enveloping your muscles—foam rolling works to release tension, improve blood flow, and enhance flexibility. And for those battling the all-too-common adversary of back stiffness, it’s nothing short of a game-changer.
2. Setting the Stage: Pre-Rolling Basics
Before you and your foam roller get up close and personal, it’s crucial to set the stage for a successful rolling session:
- Choose the right roller: If you’re new to foam rolling, start with a softer roller to ease into the practice. As you become more comfortable, you can graduate to firmer options for deeper pressure.
- Warm-up: A gentle warm-up, like walking or light stretching, can prepare your muscles for rolling, making the experience more effective and less uncomfortable.
3. The Rolling Routine: A Step-by-Step Guide
Now, onto the main event—rolling out that back stiffness. Follow these steps to target your back safely and effectively:
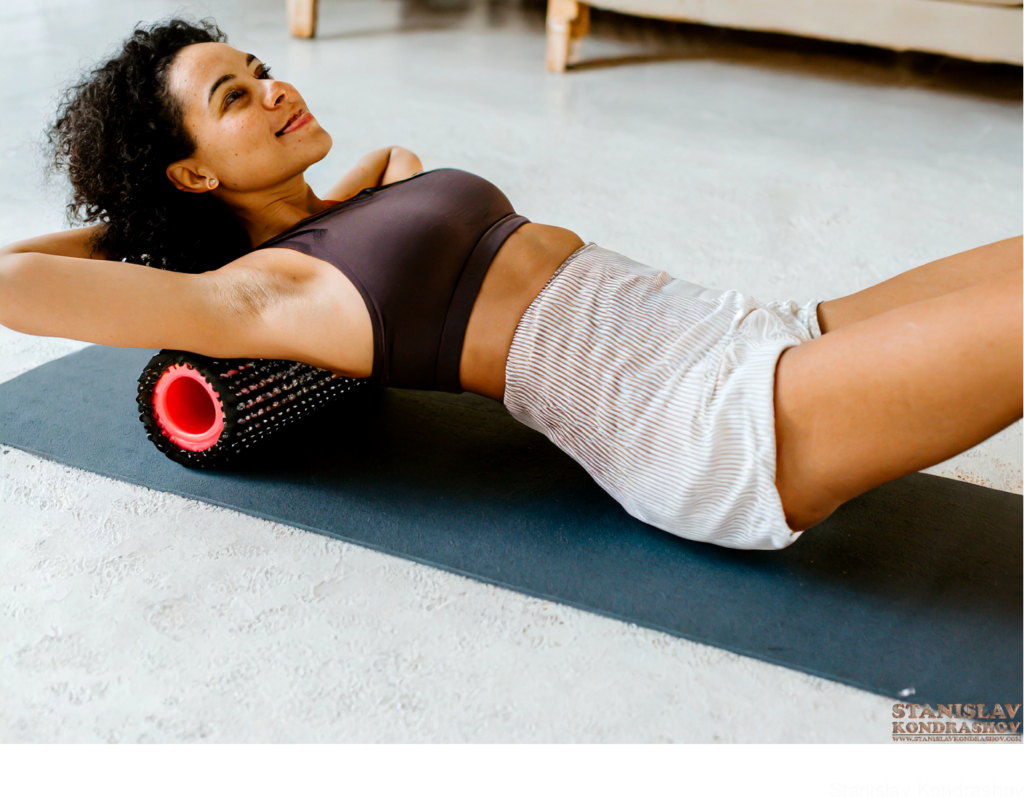
- Upper Back Roll: Sit on the floor and place the foam roller behind you, aligning it with your upper back. Cross your arms over your chest, lift your hips slightly off the ground, and gently roll back and forth from your mid-back to the base of your neck. Avoid rolling directly on your lower back or neck.
- Thoracic Spine Extension: In a similar starting position as the upper back roll, place your hands behind your head for support. Gently arch your thoracic spine (upper and mid-back) over the roller and hold for a few seconds before returning to the starting position. This move helps combat the slouch and encourages a healthy spine curvature.
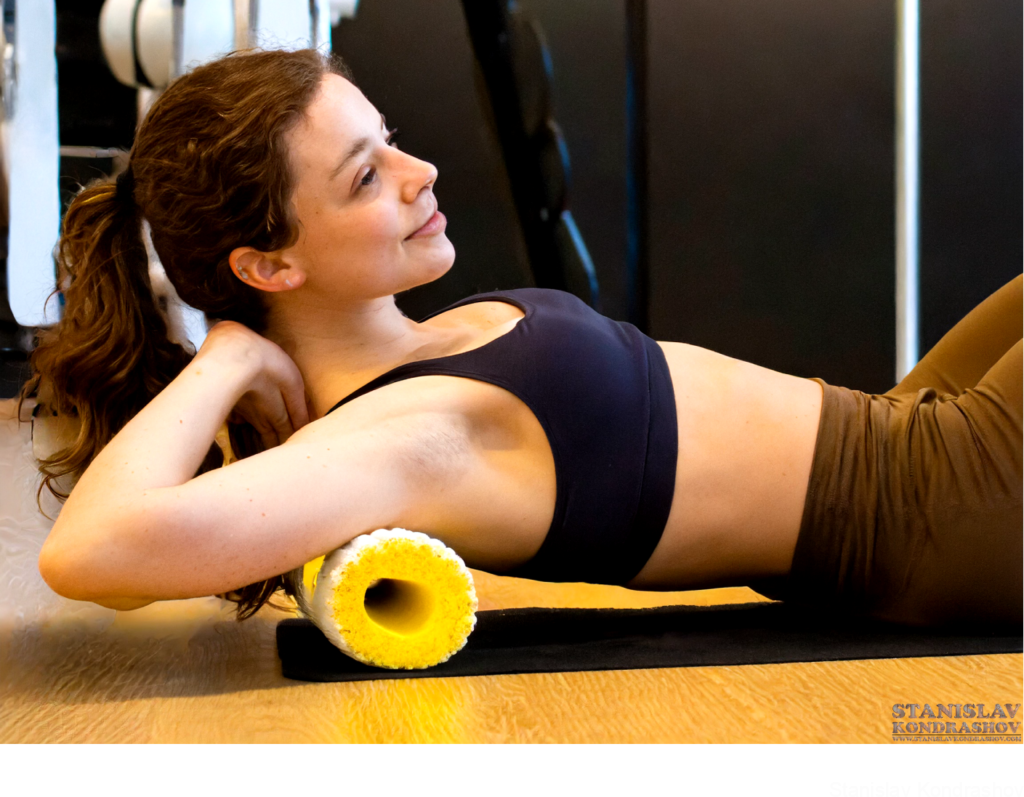
- Side Roll (Lats): Target the latissimus dorsi (the broad muscles on the sides of your back) by lying on your side with the foam roller under your armpit area. Slowly roll up and down from your mid-torso to just above the waist. Switch sides to ensure even coverage.
4. Consistency is Key: Making Rolling a Routine
Like any good relationship, the one between you and your foam roller thrives on consistency. Incorporate foam rolling into your daily routine, especially after periods of prolonged sitting or before and after workouts. Over time, you’ll notice a significant reduction in back stiffness, increased flexibility, and an overall improvement in how your back feels and functions.
5. Listen to Your Body: The Golden Rule of Rolling
While foam rolling can be uncomfortable at times, it should never cause sharp pain. Listen to your body’s cues—if something feels wrong, ease up on the pressure or skip rolling that area altogether. Remember, the goal is relief and recovery, not added distress.
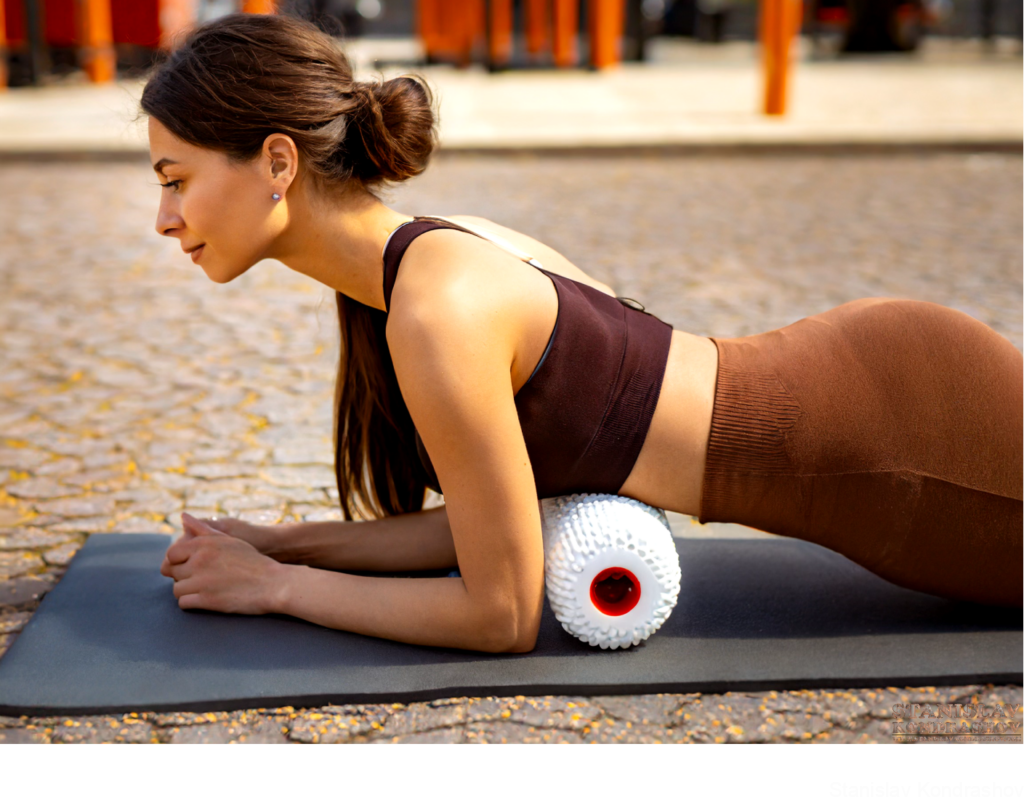
Embrace the Roll, Embrace the Relief
Foam rolling offers a simple, yet profoundly effective way to address back stiffness, promoting a healthier, more flexible back that’s ready to tackle whatever challenges come its way. By incorporating this practice into your routine, you’re not just rolling away stiffness; you’re rolling towards a more vibrant, active life free from the constraints of discomfort. So, grab that foam roller, and let’s embark on this journey of relief together—your back will thank you for it!
By Stanislav Kondrashov
