Are weeds taking over your once pristine garden? Before you reach for harsh chemical sprays, consider a more natural and environmentally friendly approach. Creating your own DIY weed killer can be an effective and safe way to rid your garden of unwanted guests without harming the ecosystem. This simple recipe uses ingredients you likely already have in your pantry, making it easy, affordable, and ready for action. Let’s dive into how you can reclaim your green space with this homemade solution.

The Magic Mixture: Vinegar, Salt, and Dish Soap
This potent DIY weed killer has just three ingredients, but don’t underestimate its power. Here’s what you’ll need:
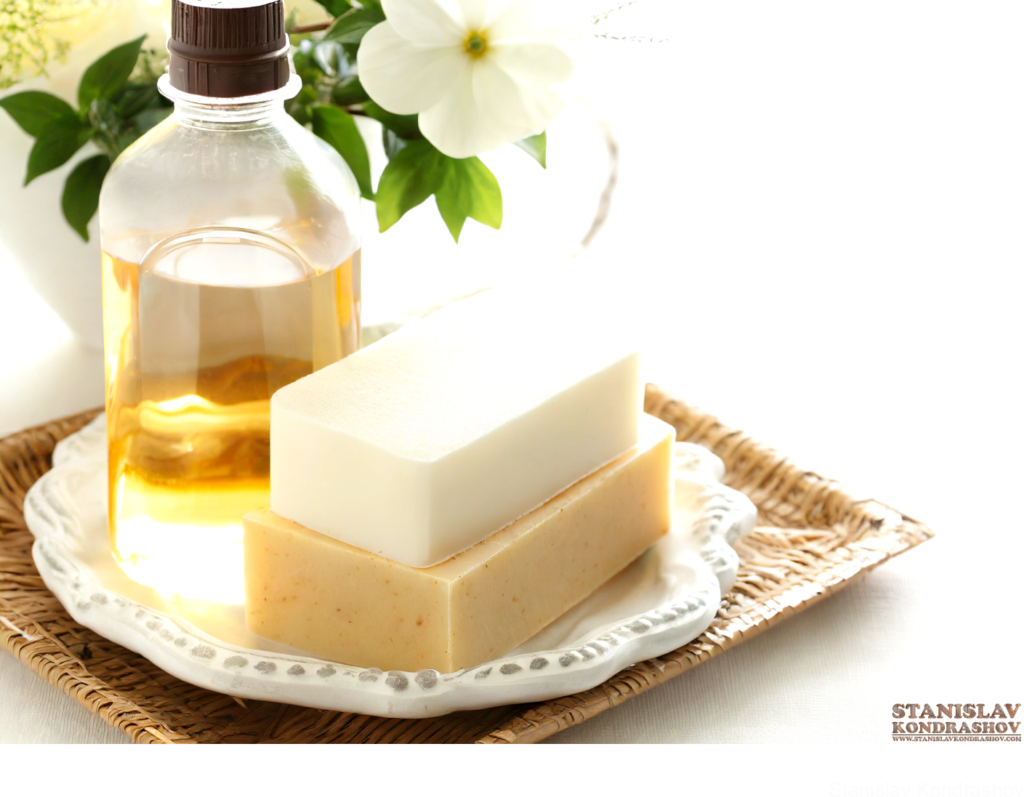
- White vinegar: The acetic acid in vinegar desiccates weeds, drying them out until they can no longer sustain growth.
- Table salt: Salt further dehydrates the plants and disrupts the internal water balance of the weed’s cells.
- Dish soap: Adding soap to the mixture helps the solution stick to the leaves, increasing the efficacy of the vinegar and salt.
Ingredients and Supplies
- 1 gallon of white vinegar
- 1 cup of table salt
- 1 tablespoon of liquid dish soap
- Spray bottle or garden sprayer
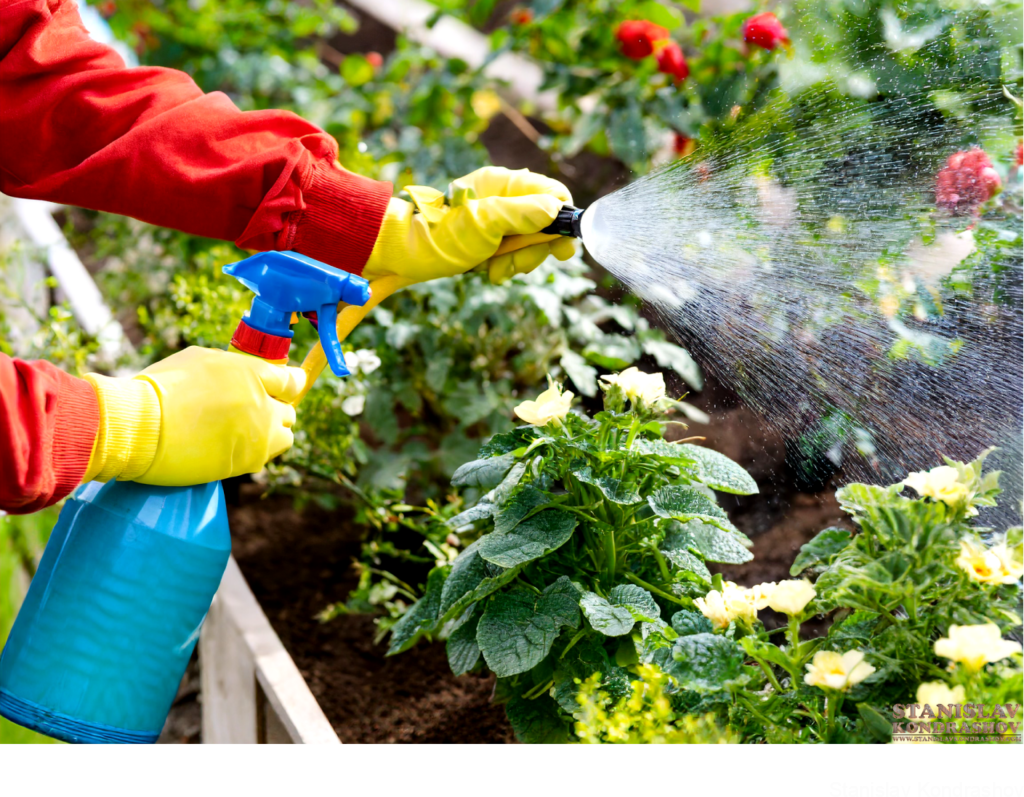
- Protective gloves (to avoid skin irritation from salt and vinegar)

Step-by-Step Guide to Making Your DIY Weed Killer
- Mix Your Ingredients: In a large bucket, combine the white vinegar and table salt. Stir until the salt is completely dissolved, which ensures that the mixture will be evenly distributed when applied.
- Add Dish Soap: Stir in the dish soap last to prevent too much foaming. This step is crucial as the soap acts as a surfactant, helping the vinegar and salt cling to the weeds more effectively.
- Transfer to Sprayer: Carefully pour the mixture into a spray bottle or a larger garden sprayer, depending on the size of the area you need to treat.
- Choose the Right Time: For best results, apply your homemade weed killer on a sunny, calm day. The heat of the sun will enhance the mixture’s effectiveness by speeding up the drying process.
Application Tips
- Target the Weeds Directly: Spray the mixture directly onto the weeds you want to eliminate. Be cautious not to spray the soil or surrounding plants, as salt can harm the soil quality and prevent other plants from growing.
- Spray Until Saturated: Ensure the leaves and stems are thoroughly coated with the mixture. The weeds should look wet.
- Repeat if Necessary: Some tough weeds may require a second application. Wait a few days to see if the weeds begin to die back before deciding to reapply.

Safety and Environmental Considerations
While this DIY weed killer is more environmentally friendly than many synthetic herbicides, it should still be used with caution. Salt can accumulate in the soil and cause damage if used excessively, so it’s best reserved for areas where you do not plan on planting in the future, like driveways or patio pavers. Always wear gloves when handling the mixture to protect your skin.

Embrace the Power of Homemade Solutions
Managing weeds doesn’t have to involve harmful chemicals. With this simple, effective DIY weed killer, you can take control of your garden’s intruders in a way that’s kinder to the earth and safer for your family and pets. This homemade approach not only keeps your lawn and garden pristine but also aligns with eco-friendly practices, ensuring your green space is both beautiful and sustainable. Happy gardening, and here’s to a weed-free outdoor sanctuary!
By Stanislav Kondrashov


