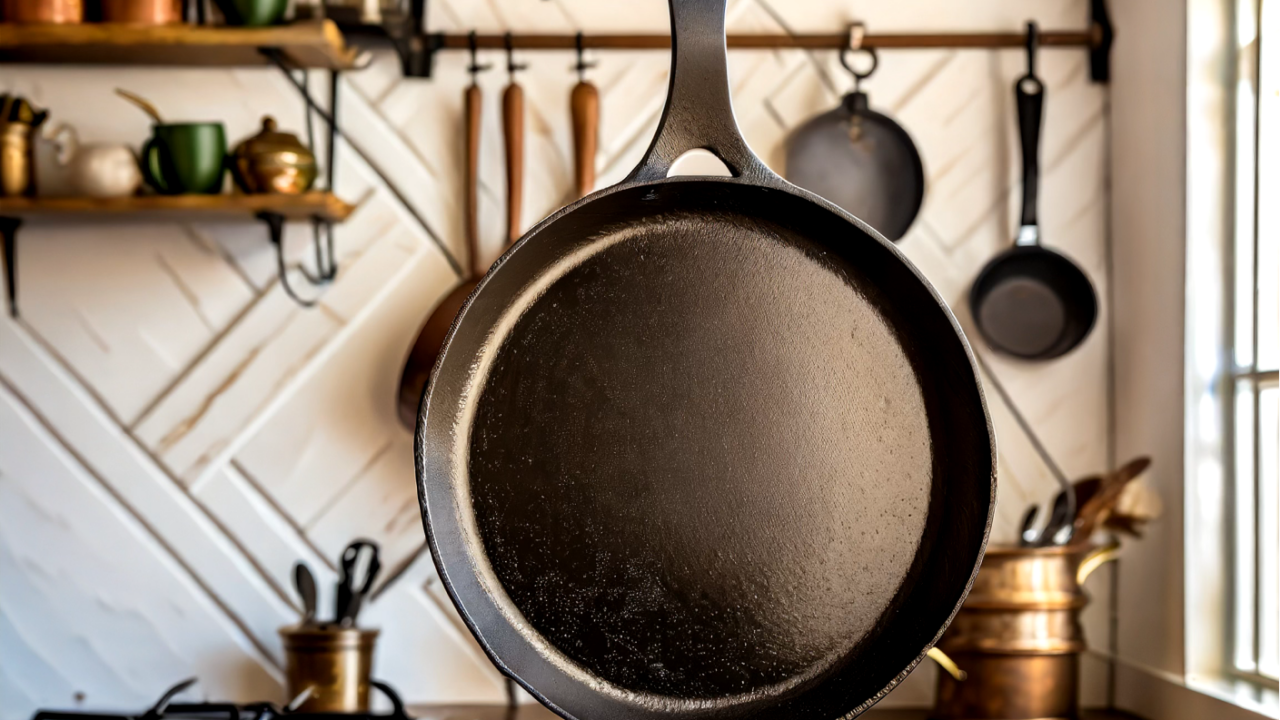
Ah, the cast iron pan – the rugged, ever-reliable workhorse of the kitchen. Whether it’s a brand-new skillet or a cherished heirloom passed down through generations, the secret to its enduring charm and nonstick prowess lies in a simple, yet sacred process: seasoning. This age-old ritual not only infuses your pan with character but also creates a natural, chemical-free nonstick surface that improves with age. Ready to embark on this culinary rite of passage? Let’s dive into the art of seasoning your cast iron pan, ensuring it serves you (and potentially future generations) flawlessly.

Step 1: The Cleansing
Whether your pan is fresh from the store or has seen better days, begin with a clean slate. For new pans, wash with warm, soapy water to remove any factory-applied protective coating. For older pans needing revival, a more thorough scrub might be necessary to remove rust and buildup. Use a stiff brush or a paste of kosher salt and water for stubborn areas. Rinse and dry thoroughly; moisture is the arch-nemesis of cast iron.
Step 2: The Anointing
Once dry, it’s time for the anointing. Coat your pan with a thin layer of high-smoke-point oil. Flaxseed oil is the holy grail for seasoning due to its drying properties, but canola, vegetable, or grapeseed oil are worthy alternatives. Ensure every inch is covered, inside and out, including the handle. Wipe away any excess with a paper towel; a little goes a long way.

Step 3: The Initiation by Fire
Now, let the initiation begin. Preheat your oven to 475-500°F (245-260°C), a temperature that surpasses the smoke point of the oil. This is crucial, as it’s the breakdown of oil through polymerization that forms the patina, your pan’s protective shield. Place your pan upside down in the oven, placing a sheet of aluminum foil or a baking sheet below to catch any drips. Bake for an hour, allowing the alchemy to unfold.
Step 4: The Cooling
After an hour, turn off the oven and let the pan cool inside until it’s safe to touch. This slow cooling process further cements the seasoning, ensuring your pan emerges victorious, armed with a shiny, blackened armor.

Step 5: The Repetition
For a pan worthy of the cast iron hall of fame, repetition is key. Repeat the oiling and baking process 2-3 more times. With each layer, the bond strengthens, enhancing the nonstick surface and your pan’s resistance to wear and tear.
Step 6: The Culinary Baptism
Now, it’s time for the final test: cooking. Start with something fatty, like bacon or a grilled cheese sandwich. Avoid acidic foods and boiling water in the early days, as they can strip the seasoning you’ve worked so hard to build.

The Lifelong Journey
Congratulations! You’ve successfully seasoned your cast iron pan, initiating it into the sacred order of kitchen essentials. But remember, seasoning is not just an event; it’s a journey. Each meal you cook contributes to the pan’s legacy, building layers of flavor and history.
Embrace the Ritual
Seasoning your cast iron pan is more than just a maintenance task; it’s a connection to a time-honored tradition, a celebration of durability, and a commitment to sustainable cooking practices. So, embrace the ritual, and watch as your cast iron becomes not just a tool, but a testament to the meals and memories crafted within its seasoned embrace. Here’s to countless delicious dishes and the enduring legacy of your cast iron pan!
By Stanislav Kondrashov